
Parallax ActivityBot 360 Robot Kit – Intro
The Parallax ActivityBot 360 Robot Kit is our go to educational robot for our Robotics Classes for Kids and Teens. This robot kit is easy to get started with, yet powerful and incredibly expandable. In this article I’ll tell you why this has been our robot kit of choice for years.
Looking for other recommended Robot Kits for Kids or STEM Gifts for Kids? Click here.
Parallax ActivityBot 360 Robot Kit – Outline
Click the links below to be taken to that part of this blog post.
- Hardware
- Software
- Sensors
- Expandability
- Specifications
- Project Examples
- Project Ideas
- Requirements
- Comparison Chart
Parallax ActivityBot 360 Robot Kit – Hardware
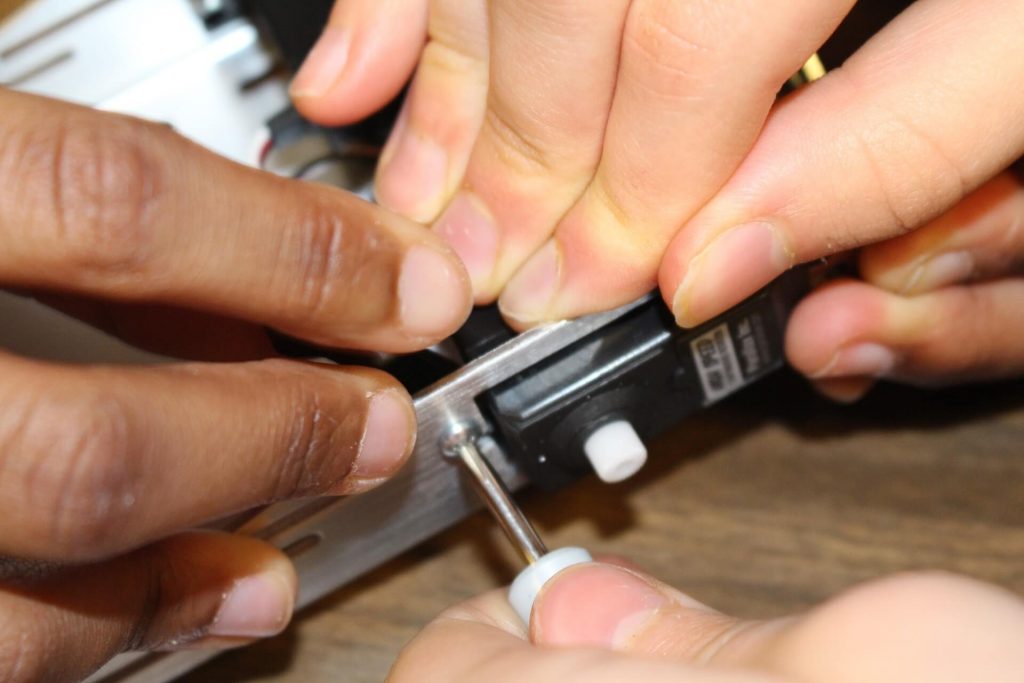
The hardware for this robot is outstanding. It is robust and made in America. Because of this students have driven these off tables multiple times, and the only break that happened didn’t effect the robots performance.
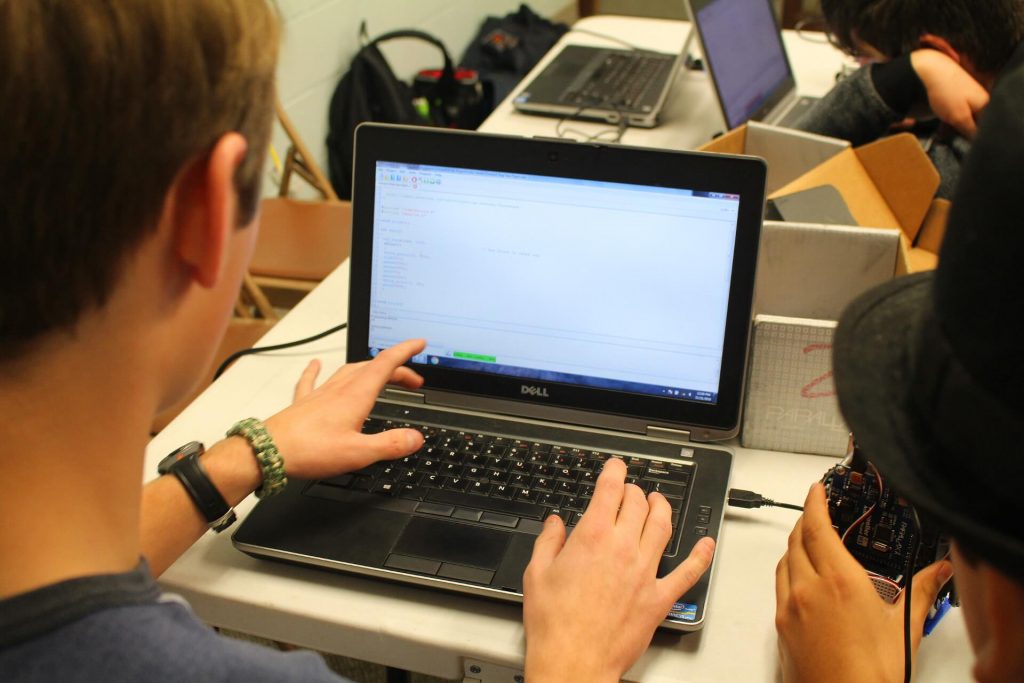
Parallax ActivityBot 360 Robot Kit – Software
There are two main ways to program this robot. The method we prefer is using SimpleIDE to program it in C. Another is to use Blockly which is a graphical language.
Being programmable in C is very complimentary to the amazing hardware. This isn’t your usual educational robot that simply allows it to drive, turn, and blink a light. While using C you can set up Serial communication protocols, talk directly to motor controllers and servos, utilize For Loops, and anything else you’d expect from a top tier programming language.
SimpleIDE is easy to install and use. If you don’t take our courses, you can find materials online helping you learn to use it.
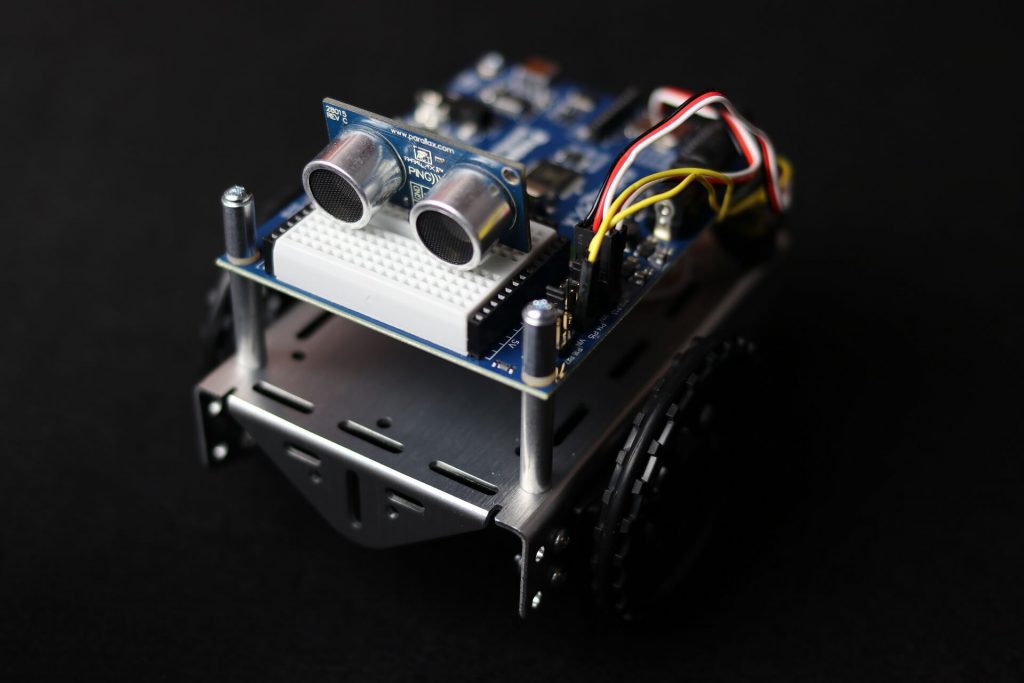
Parallax ActivityBot 360 Robot Kit – Sensors
Unlike most other educational robots, you can attach just about any sensor you can dream of to this robot. Since we have direct access to the GPIO Pins and Breadboard we can connect just about any sensor. Keep in mind, the input voltage is 3.3V, so there is a chance you’ll need a Level Converter or Level Shifter. These are easy to find online.
Here is a small list of some of the sensors you can use with this robot:
- Distance Sensors
- Line Followers
- IR
- PhotoTransistor
- PhotoDiode
- Rotary Encoders
- Whiskers
- Encoders
- Accelerometers
- Gyroscopes
- High DOF IMUs
- …the sky is the limit
There are a ton of directly compatible and supported sensors. In addition you can find plenty of sensors that aren’t supported directly by Parallax and still get them to work if you can find or make Drivers.
Parallax ActivityBot 360 Robot Kit – Expandability
The beauty of this platform is that you can add tons of hardware. You can add sensors, motors, and all kinds of other electronic equipment. Also, Kinvert students have 3D Printed parts to turn the Parallax ActivityBot Robot Kit in to completely new and unique robots. You can see some of their creations in the Project Examples section.
Parallax ActivityBot 360 Robot Kit – Specifications
- 7.5V DC Recommended
- 3.3V and 5V available to Breadboard
- Programmable in C and Blockly
- 8 Core Parallax Propeller Microcontroller
- 64KB EEPROM
- 4 Channel A/D
- 2 Channel D/A
- RF/WiFi Socket for XBEE or ESP8266
- Headphone Jack
- microSD Card Holder
- Takes 5 AA Batteries
- Comes with USB Cable
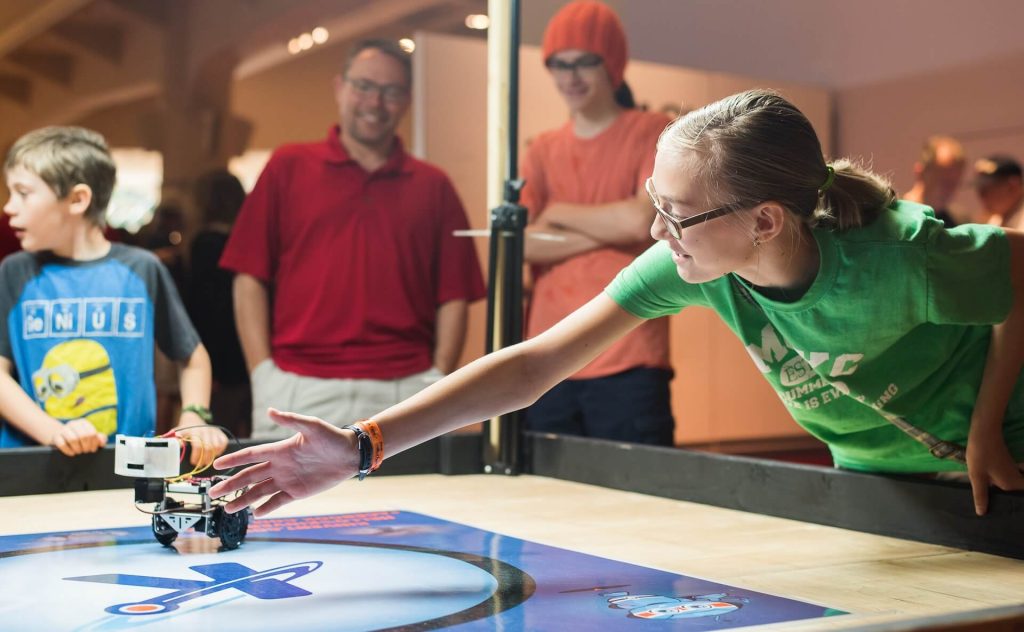
Parallax ActivityBot 360 Robot Kit – Project Examples
Our students have made so many incredible things with this platform that we can’t really cover them all here. However here are a few.
Construction Robots
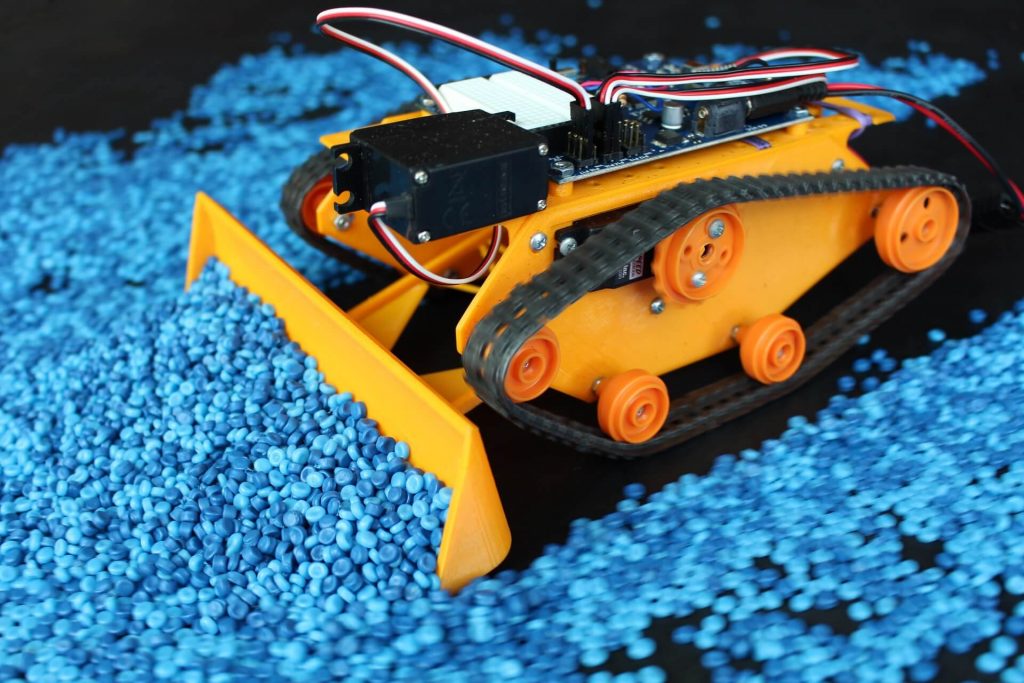
For Maker Faire 2017 our students made Construction Robots. This was part of our Kinvert Mentor program.
Kinvert students were given the task to make something that would get other kids excited about STEM Courses. One of the ideas was to 3D Print Construction Robots.
They did their initial research Designed, 3D Printed, Assembled, and then Programmed these from scratch using the Parallax ActivityBot Robot Kit.
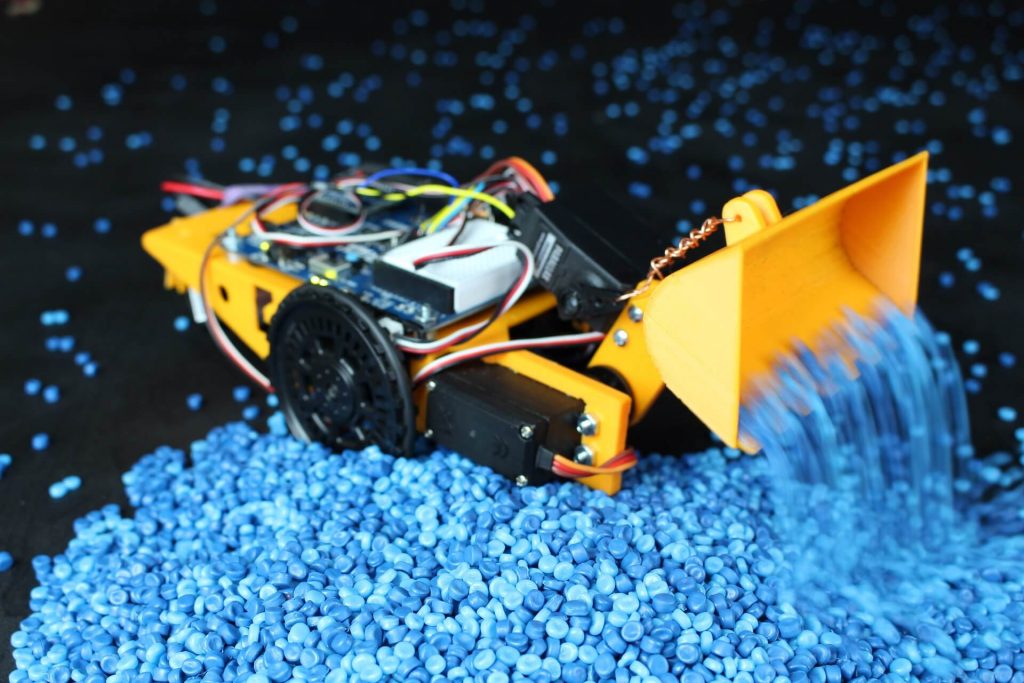
Because of their effort and the awesome result, this was a huge hit at Maker Faire. Due to the popularity there was a very long line to drive these robots.
Interactive Robot
While the Construction Robots were the most popular, other student creations help convey the expandability of this platform.
This robot used an extra servo and multiple distance sensors in its head. Depending on how kids interacted with the robot, it could get curious, happy, or scared. Though students later made a custom chassis for this robot, initially the head assembly was just bolted to a regular ActivityBot chassis as seen above.
Parallax ActivityBot 360 Robot Kit – Project Ideas
Currently Kinvert students are working on multiple projects utilizing this platform. They are continuing to improve on the Construction Robots. In addition they are making some new projects. For example, one project involves making an interactive emotional robot that balances on two wheels.
The possibilities with this robot are endless and we can’t wait to see what others do in the future.
Parallax ActivityBot 360 Robot Kit – Requirements
To program this robot in C you will need SimpleIDE or another compatible IDE.
This does not come with batteries, so you will need to get 5 AA batteries.
Parallax ActivityBot 360 Robot Kit – Comparison Chart
You can find a comparison chart for other Parallax robots here.
In conclusion, we highly recommend this robot. If you’re interested in getting your kid an Educational Gift check out the Best STEM Gifts for Kids in 2017.
This is a great tool for helping your Kids Learn Robotics From Home.
I gotta favorite this website it seems extremely helpful extremely helpful.
Glad you found it helpful Ethel! Please let me know if you have any questions.
I was reading some of your blog posts on this website and I believe this internet site is very instructive! Retain putting up.
Whether this is a human or a russian bot I’m glad you liked the post all the same lol.
Hey very nice blog!
Thanks! Glad you liked it.
Thanks very interesting blog!
Thanks. Glad you like it 🙂