
3D Printer repair comes up a lot for us. With the number of broken 3D Printers we and our students have had, we’ve fixed a lot of them. Here’s how.
We will outline all of this for you but let me sum up the basic 3D Printer fixing process.
First, you have to troubleshoot the issue and know what is actually wrong. Then after you know that is when you know what to actually fix. Sometimes you need new parts, while other times it is a matter of putting things back together.
The real fun begins when you have multiple 3D Printers, and you 3D Print a part to fix your broken 3D Printer 🙂
Let’s take a look at what we’ll be covering in this article on fixing your 3D Printer.
3D Printer Repair Outline
Oh, I forgot to mention. I’m Keith. Nice to meet you.
Troubleshooting a broken 3D Printer by symptoms:
Each Item Below Is Clickable!
Fixing a 3D Printer That Won’t Turn On

Let’s go through the process of troubleshooting a 3D Printer that won’t turn on.
Keep in mind, some of these steps will seem like overkill and that they are basic. However it is important to rule out every possibility.
Here are the steps you want to take. The idea is to narrow down to what is the cause. For example, maybe it’s the power cable.
https://www.youtube.com/watch?v=PW8VoXYQaXM
Step 1 – Double Check
- Make sure it is in fact plugged in
- Make sure it is in fact turned on
- Listen carefully for any sounds
I have curse the skies only to find out I hadn’t plugged something in. Don’t be like Keith.
Step 2 – Test a Lamp in Power Socket
You want to make sure that power socket works. For example, maybe a fuse popped. So plug a lamp in to that power outlet and make sure the lamp can turn on. If the lamp turns on, you know the problem isn’t the power outlet.
Step 3 – Test the Power Cable
If the power cable for your 3D Printer fits in anything else, try testing it on another device. If the other device turns on, it isn’t your power cable.
In the case you have nothing else that fits that power cable, you’ll need to be careful testing it.
There are safe ways to test this with a Multimeter. There are also unsafe ways to test this with a Multimeter. If you’re going to do it, do it safely.
Step 4 – See If There is a Blown Fuse in Your 3D Printer
Perhaps there is a blown fuse in your 3D Printer. Hopefully you’re lucky enough for this to be an issue as it could boil down to just replacing the fuse.
Keep in mind, if you replace the fuse and it stops working again, you likely have a short circuit somewhere.
You might try unplugging any heating elements such as for the hot end and for the bed. Then replace the fuse and turn on the printer. Don’t try actually printing anything. Just see if you can power things up without blowing the fuse.
Step 5 – Test the Switch
Again, you’ll want to do this in a very safe way. If you have a Multimeter and know how to use it, you ought to be able to test the switch to see if that’s the problem.
Step 6 – Test Power Supply Output
Once again if you know how to use a Multimeter you ought to have a clue how to do this. Maybe you’re getting in good power but for some reason the power supply is not putting enough voltage through.
How to Fix a 3D Printer That Won’t Turn On
It is fairly common for a power supply to go out. Particularly in cheaper 3D Printers.
Keep in mind, sometimes there was a good cause besides just being a cheap power supply.
Imagine if you replace the power supply only to blow it out again because you had a short circuit somewhere.
3D Printer Screen Won’t Work
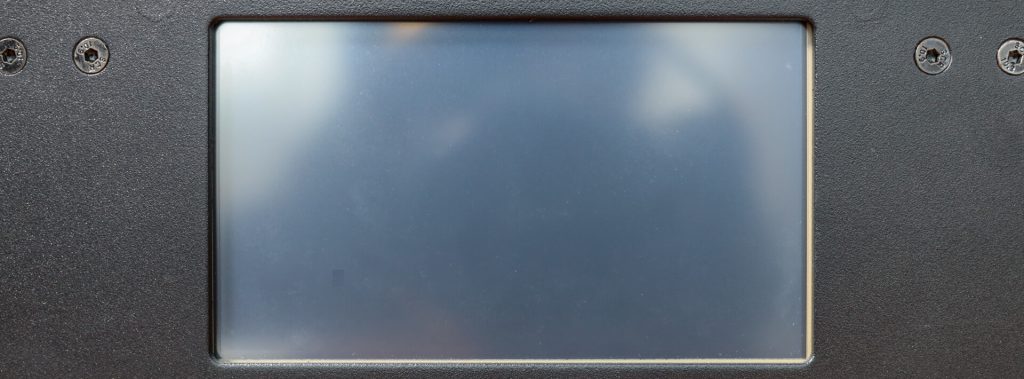
If the screen won’t turn on, first check the section above which talks about a 3D Printer That Won’t Turn On.
If you now know you have power, and the screen still won’t turn on, here is what you should try.
Step 1 – Check the Wiring
Remember first you should have already checked to make sure the printer is in fact getting power and turning on.
Check the wiring for the screen. Make sure the connectors are in firmly.
After you have checked the wiring, make sure to power things back up and check the screen again.
Step 2 – Check Signal
This is another situation where experience using Multimeters and Oscilloscopes will come in handy. I can’t really instruct you on how to do this but maybe we’ll write an article on that in the future.
If you aren’t getting a signal that looks solid you might need to replace your control board.
Step 3 – 3D Printer Screen Replacement
Time to replace that screen. If none of these other things worked you probably need to replace the screen.
3D Printer Nozzle Won’t Heat Up
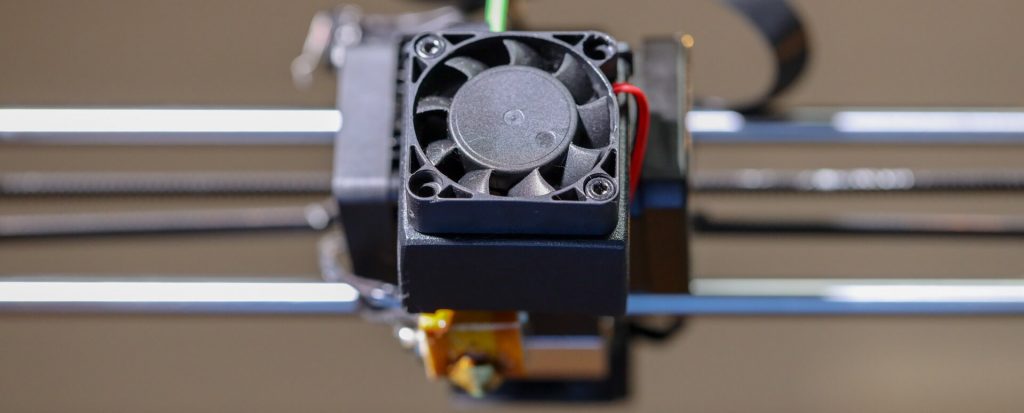
If your nozzle won’t heat up, there is a process to see what is causing the problem.
First, try to manually heat the nozzle using your 3D Printer’s menu. Since there are so many different printers, it’s hard to say exactly how you’d do this.
Often times this menu setting is called Preheat. Keep in mind your printer might require you to set a temperature. Also it is common for there to be a Start or OK button.
If the nozzle still won’t heat up, you will want to check to make sure that the heating element is actually plugged in to the control board for the printer.
Though it isn’t very common you may find that wasn’t the problem and you might need to replace the heating element for your hot end.
Bed Won’t Heat Up on 3D Printer
The process for a bed that won’t heat up is similar to a nozzle that won’t heat up. Go one section up and check that out.
3D Printer Stepper Motors Broken
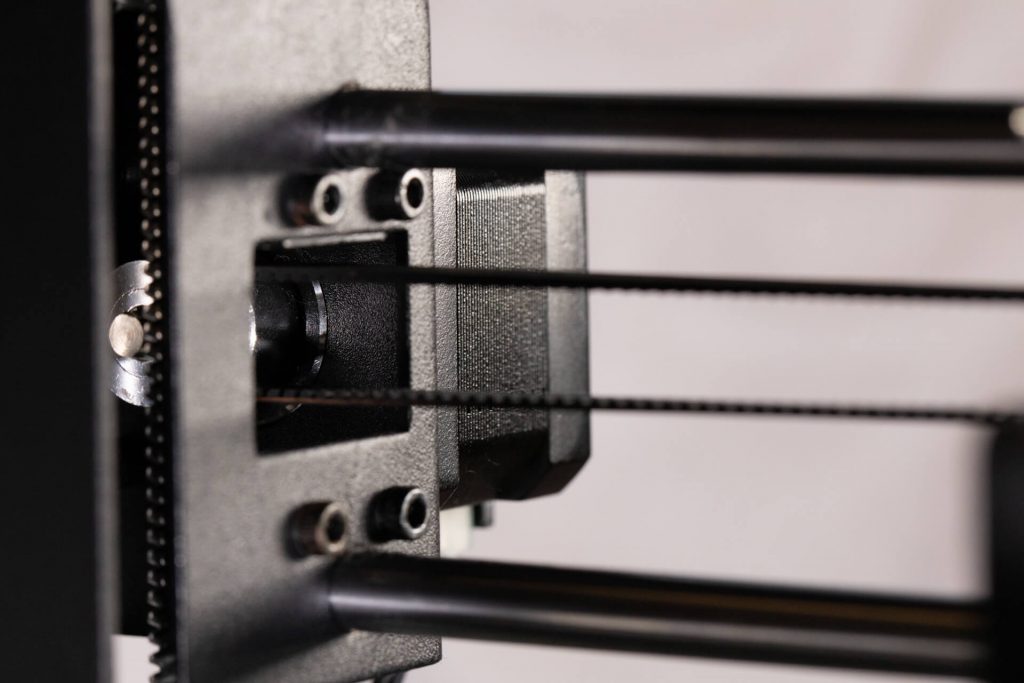
In all our 3D Printer repair experience we’ve yet to have a stepper motor go out. That said, it isn’t inconceivable for it to happen.
Generally you will want to rule all other things out as with other parts. Let’s troubleshoot whether or not this is your Stepper Motor that is actually causing the issue.
Step 1 – See If Only One Motor Isn’t Working
During a print, you should be able to see if it is only one motor that isn’t working.
If none of the motors are working, the odds that the motors are the problem are slim.
Step 2 – Check Your Wiring
Twice now we’ve had a Stepper Motor wire come loose. That is the next thing to check. If one motor isn’t working, chances are this is the cause.
Generally it will have unplugged from the motor itself but it is also possible the connector somehow popped out of the control board.
Step 3 – Stepper Motor Driver
If you checked both of these issues, and your stepper motor still isn’t working, you might have a more serious problem.
I personally think it’s more likely for a stepper motor driver to burn out than the stepper motor itself. For some boards, the stepper motor driver could be part of the control board.
Some do have removable stepper motor drivers. If you’re this far along, hopefully your controller has removable motor drivers.
This will require a little know-how, but you want to check the signal coming out of the stepper motor driver and see if you’re getting the right voltage out of the driver.
Step 4 – Stepper Motor Replacement for 3D Printer
At this point, if everything else is good, you probably do have a batter Stepper Motor.
Find out what size it is. A common size is NEMA 17. You’ll also want to find out if the motor is Bipolar or Unipolar.
Replacement of the motor itself shouldn’t be that hard. Generally there are 4 machine screws holding it in.
You might have difficulty getting the pulley off if it is a press fit. So be prepared to buy a new pulley. A common size is GP2.
3D Printer Stops Mid Print
This could be due to G Code or a power issue.
Also, make sure you didn’t run out of filament mid print.
We’ll write more on this in the future.
If there is any 3D Printer repair required it will likely involve the power system. Otherwise it might be a G Code issue.
3D Printer Filament Won’t Fit
One thing I’ve seen people do is get the wrong diameter of filament.
Make sure you have the right filament diameter for your 3D Printer.
The most common filament diameter is 1.75mm and the next most common is 3mm.
There is also a chance you have some old plastic in the nozzle that was melted and cooled down in a way that it jammed things up a bit.
No Plastic Coming Out of 3D Printer Nozzle
This is related to not enough plastic coming out.
You will want to make sure your nozzle is getting up to the proper temperature.
Also, make sure the stepper motor in your extruder is working.
There is a chance your nozzle is jammed.
The hot end, extruder, bowden tube, or anything else could be causing too much friction with the filament. See if you can free up any friction.
Not Enough Plastic Coming Out of 3D Printer Nozzle
Sometimes this is caused by the nozzle not being hot enough, a nozzle jam, dirty teeth on the extruder’s drive gear, and friction in your hot end / bowden tube.
Too Much Plastic Coming Out of 3D Printer Nozzle
This could be a calibration issue or down to an extrusion multiplier setting.
Did you recently change the Stepper Motor in your Hot End?
There is a chance the drive gear is a different diameter than your old one.
Another issue could be the new Stepper Motor has a different number of steps per revolution than your old one.
Filament Is Jammed – Cannot Remove
Generally you want to make sure you are preheating the nozzle before removing filament.
What I do is preheat the nozzle, then disengage the tensioner on the extruder and push in some filament until I see some flowing nicely out of the nozzle.
Once I see this, I keep holding the tensioner so it isn’t gripping the filament and I pull the filament out.
Wobbly 3D Printer Hot End
You might have a loose guide rode or linear bearing.
Try sliding the hot end around and note if it moves smooth, or if the motion is inconsistent and sometimes hangs up slightly.
If the motion is smooth it is a little less likely the cause is a bad linear bearing. However if the motion is inconsistent and ‘catches’ sometimes, then you might have a linear bearing that needs replacement.
Examine the printer and see if any guide rods are loose. I’ve had this a couple times with Powerspec i3 Plus 3D Printers. I had to get the guide rods running in the X Axis direction back in their mounts.
3D Printer Bed Jammed – Won’t Move
This could be cause by misaligned guides and linear bearings.
The belt could be jammed on something.
Check to see if your Stepper Motor has seized up.
3D Printer Nozzle Jammed – Won’t Move
This is another fairly common thing to come up in 3D Printer repair. Don’t be too discouraged if this happens to you. It happens to nearly everyone.
If your nozzle is stick, there are some primary things that could be causing this.
Maybe your guide rods and linear bearings aren’t lined up.
Perhaps the belt is caught on something.
Your Stepper Motor could have seized.
I have seen people sort of melt their nozzle in to the bed.If this happened, preheat your nozzle and bed, then move the nozzle up gently.
Belt Loose on 3D Printer
I’ve seen this a couple times with kits our students buy.
Different printers have different ways to tension the timing belts. For now try searching for your specific printer.
In the future we’ll write more about this.
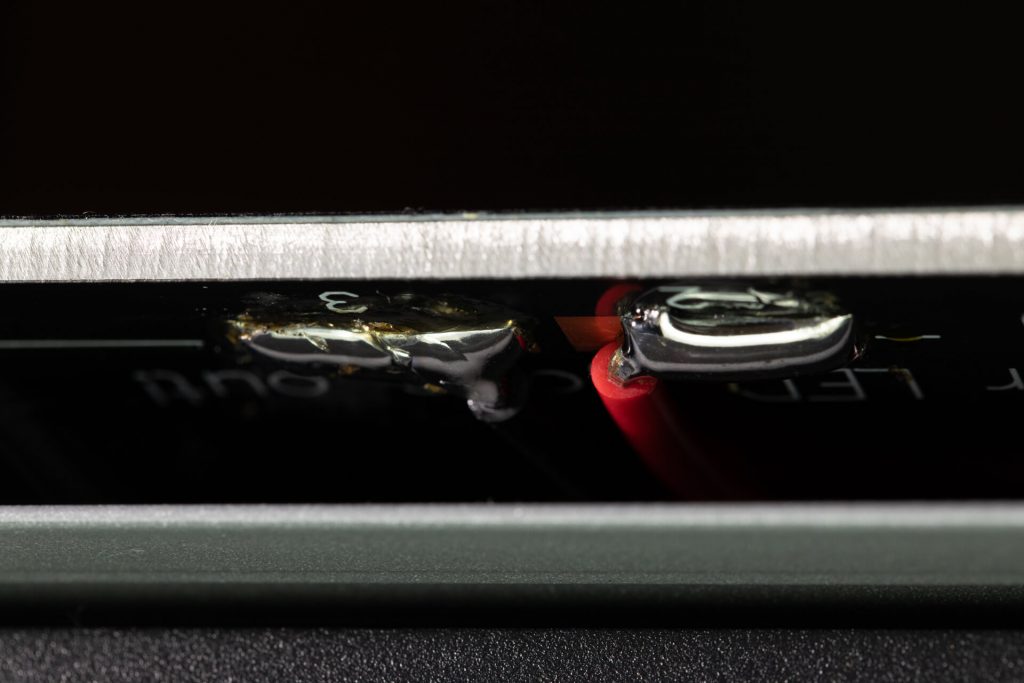
If the buttons aren’t working you’ll want to test them with a Multimeter and be ready to replace any buttons and switches etc.
This step could require some soldering.
First Layer Not Sticking on 3D Printer
Probably the most common thing that comes up in 3D Printer repair is dealing with first layer issues. Most of the time it can be fixed in the slicer and slight tuning. That said, sometimes you might need to actually fix something with your 3D Printer.
There will be more things to try in the section below about Not Enough Plastic on First Layer.
Actually maybe try those before these things I’m about to say. Those are easy changes to make while this can involve some cleaning up.
Common ways to improve the first layer’s ability to stick include:
- Painters Tape on Bed (this is what we do)
- Rub Glue Stick on Bed
- Hair Spray on Bed
Not Enough Plastic on First Layer
Here is a common issue that comes up in 3D Printer repair. There are a few things that could be causing this problem.
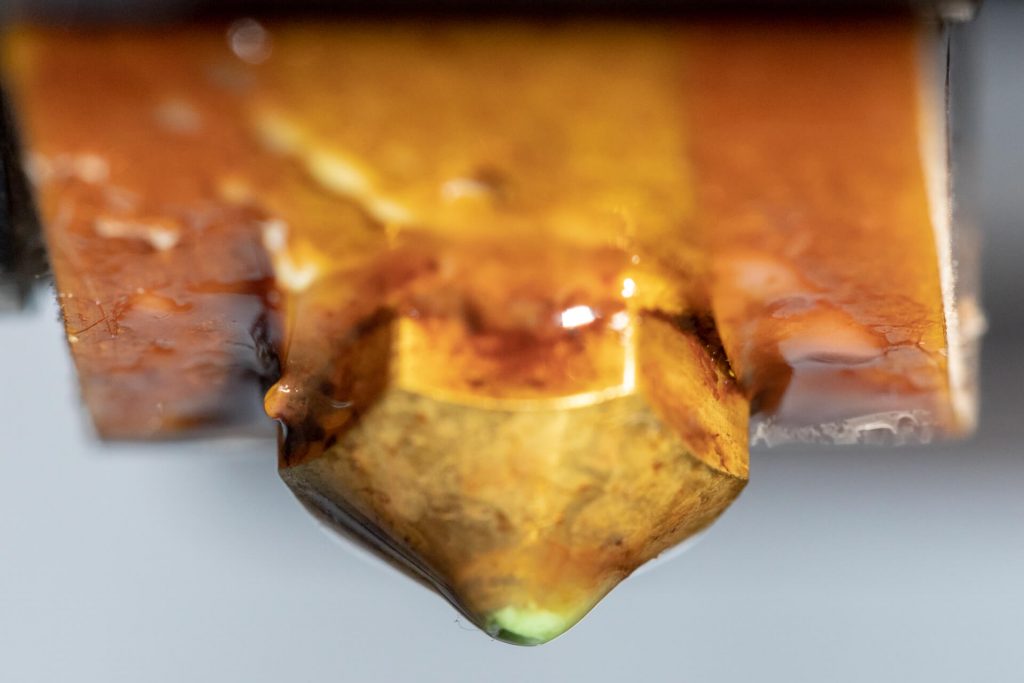
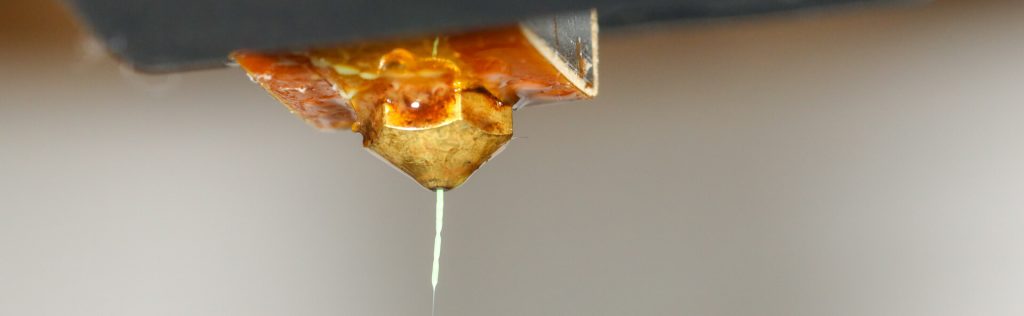
One is the nozzle could be too high. Look to see if those strands of printed filament look curvy or straight.
Ever pour honey or chocolate and notice how it sort of wobbles back and forth due to its viscosity? Same principle here. The nozzle could be too high.
You might also consider increasing your extrusion multiplier for the first layer.
Yet another cause could be a nozzle that is a bit too cool. Maybe try raising your nozzle temperature about 5 degrees Celsius.
Supports Keep Breaking on 3D Printer
Generally this is more to do with your Slicer settings than something you would fix with the printer.
Consider increasing the size of the supports in your Slicer settings.
Outer Edges Bend Up on 3D Prints
This is often due to the bed not being warm enough, or too much cold air hitting the outer edges of the part.
When printing with ABS this is more common. PLA generally shouldn’t do this.
Top Layer Has Holes – Pillowing
I will write more on this topic later.
That said, a common quick fix is to increase the number of top layers on a print, and / or increase the infill percentage.
Also consider increasing your extrusion multiplier.
3D Prints Take Too Long
We will dedicate another article to this in the future.
Suffice it to say, you’ll want to fine tune a lot of parameters if your goal is to decrease print times without losing print quality.
Closing Remarks
We will be updating this article and going more in depth with several of these issues in the near future. 3D Printer Repair is a large topic and we can’t fit everything in this single article.
Other 3D Printing topics we’ve written about include What is ABS Plastic, What Does ABS Stand For, and Flexible TPU Filament.
For Monoprice Mini Delta owners, take a loop at Monoprice Mini Delta Optical Endstop or Monoprice Mini Delta 3D Printer.
Kinvert covers a lot of other topics as well.
If you’re interested in Robotics check out our articles on Cozmo Vs Vector, Parallax ActivityBot 360, and STEM Gifts for Kids – Educational Robots.
We also have a YouTube channel at https://www.youtube.com/channel/UCA7iu8vLg01KnbQ7fkntGdQ
If you have any feedback please leave it in the comment section below.